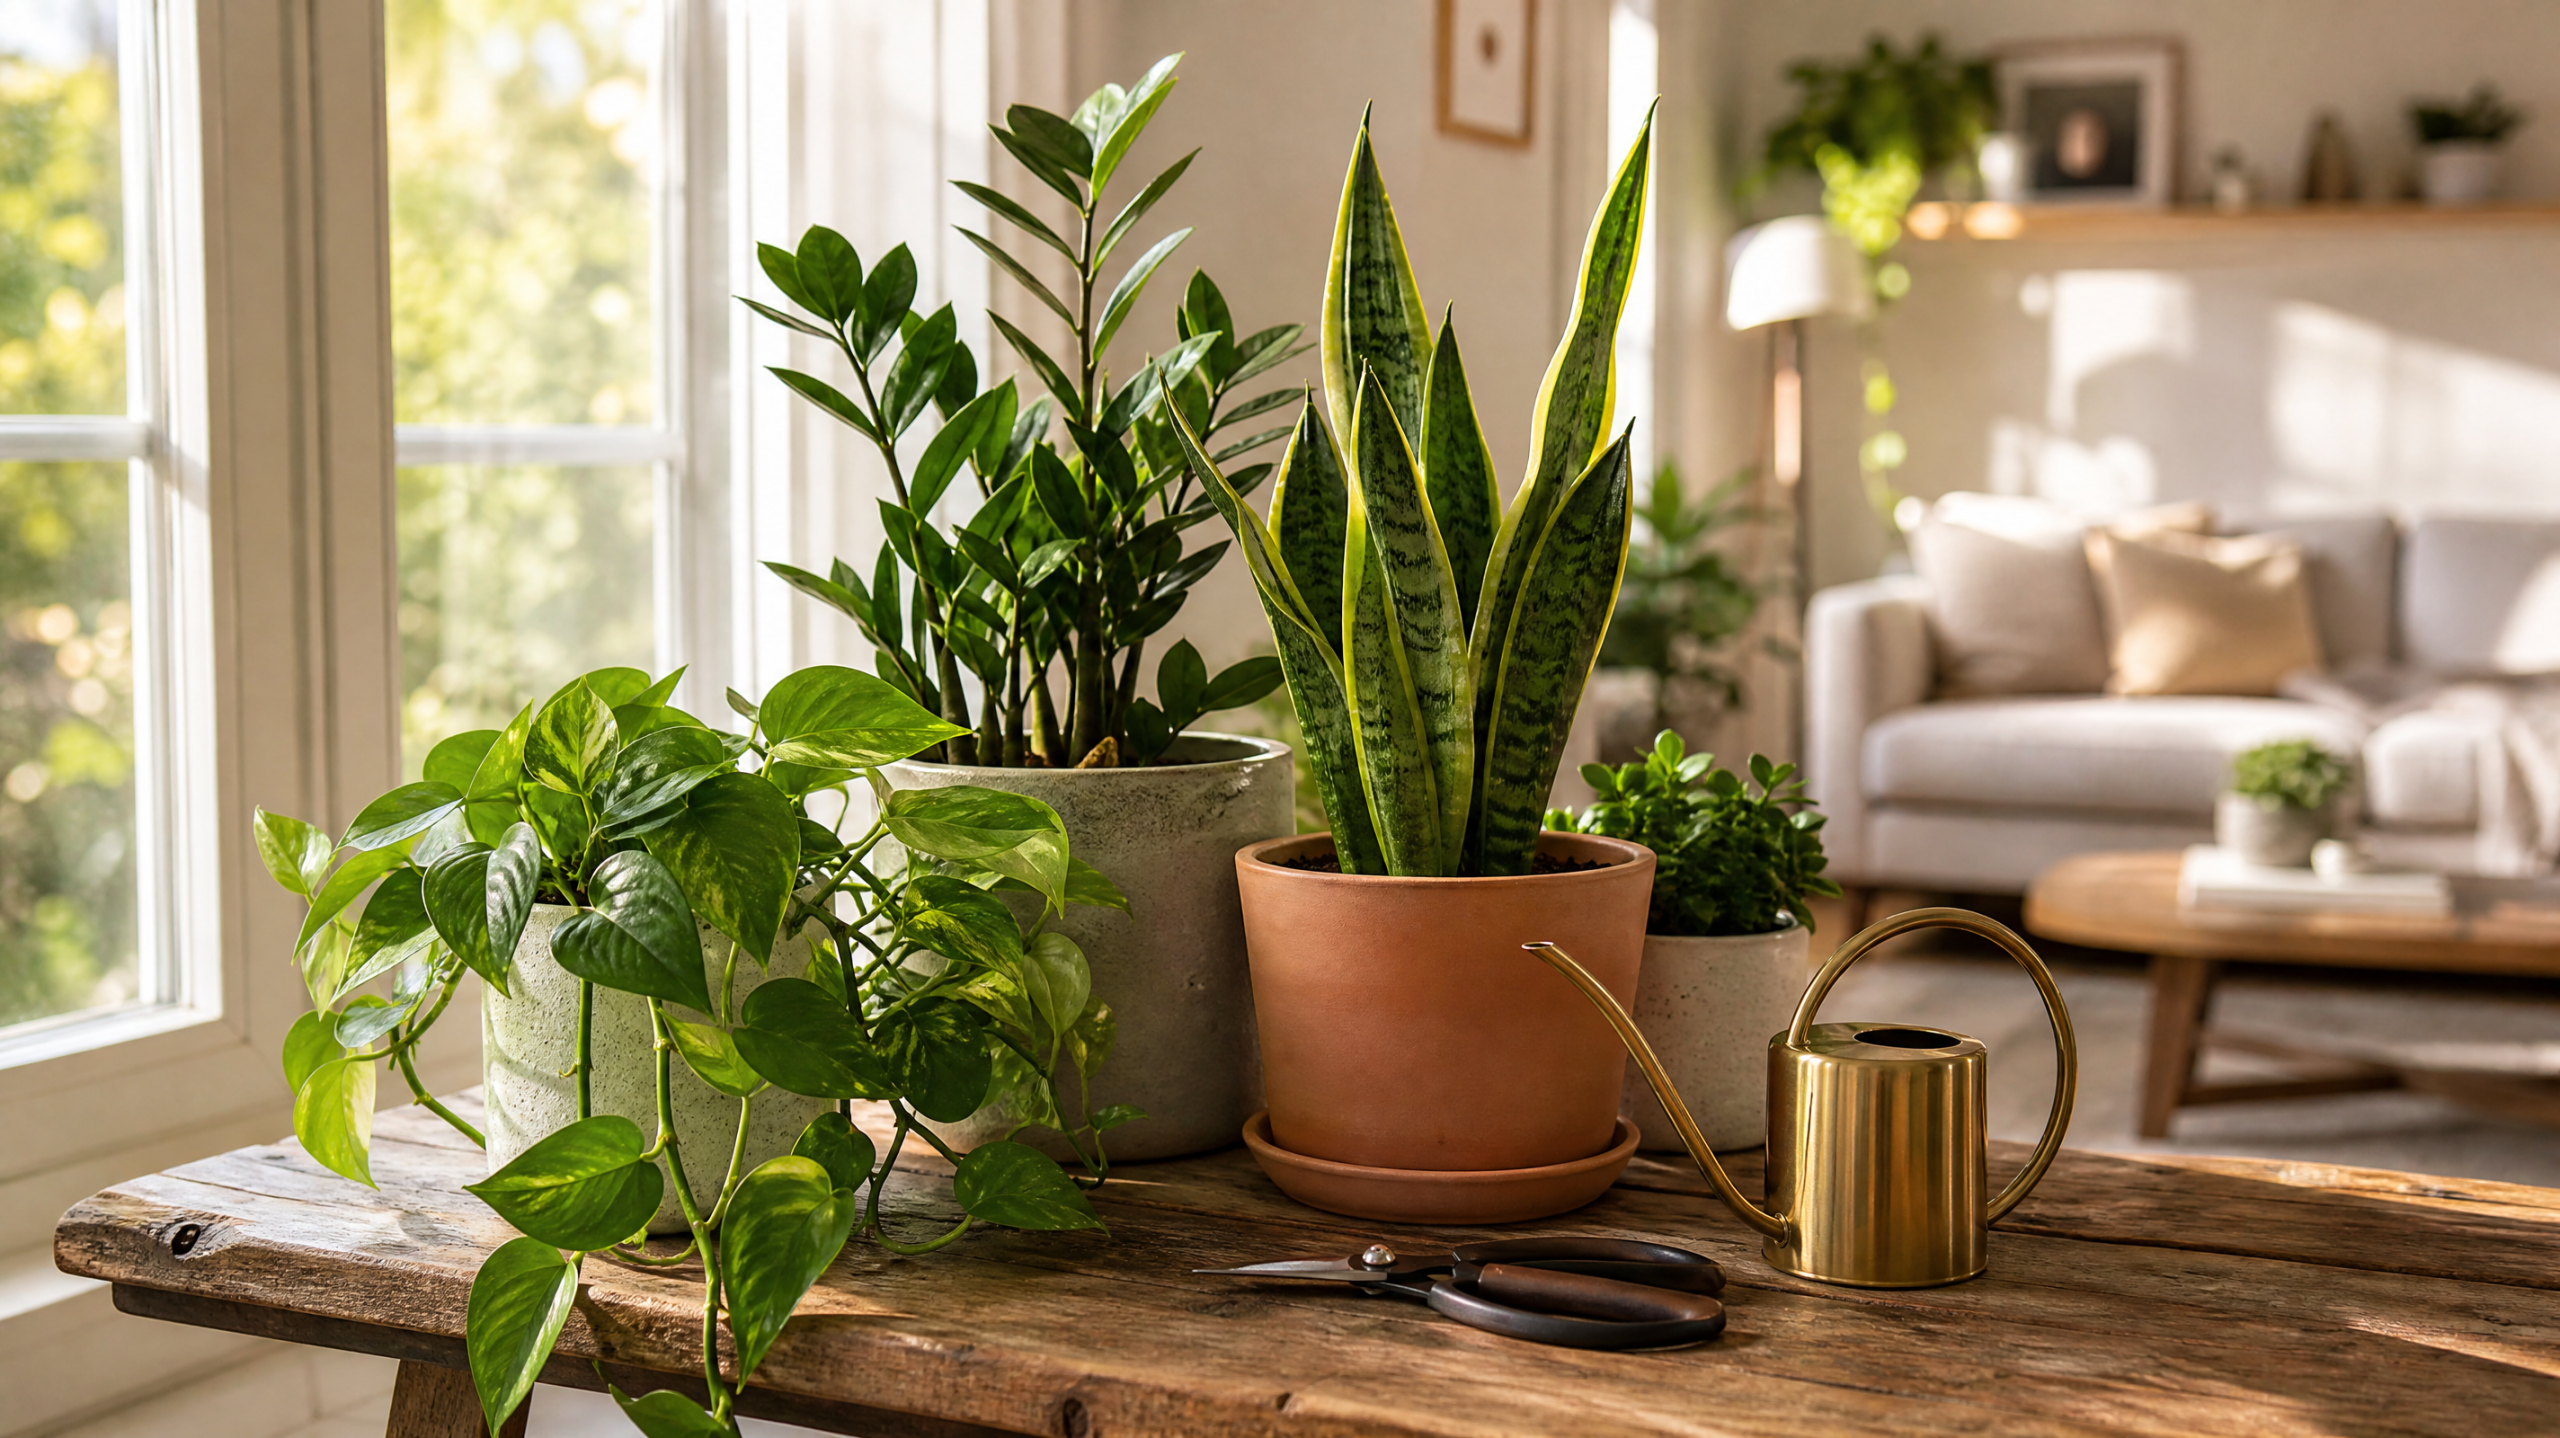
A quick framing note. This guide is for people who want greenery in their home without it becoming a hobby — not for serious houseplant collectors. Many beautiful houseplants exist that need humidifiers, special soil, specific window orientations, and weekly attention. None of those plants appear in this article. The recommendations below are the species that survive forgetful owners, inconsistent watering, mediocre light, and the routine neglect of a busy life.
Why Most Beginners Kill Their First Plants
Before picking plants, it helps to understand the three reasons most first attempts at indoor gardening fail.
Overwatering. This is the single largest cause of houseplant death. The University of Maryland Extension states plainly that overwatering is the most common problem with houseplants. Roots need air as well as water; soil that’s constantly wet suffocates them and invites root rot. Most beginners water on a schedule — “every Sunday” — when they should be watering when the soil actually needs it. We’ll fix this below.
Wrong plant for the light conditions. A fiddle-leaf fig in a dim apartment will die slowly. A sun-loving succulent in a north-facing room will stretch and weaken. According to the Mississippi State University Extension’s guidance on care and selection of indoor plants, light is the single most important factor in successful indoor gardening — plants use it as energy to make food via photosynthesis, and matching the plant to the available light is the precondition for everything else.
Plant-store optimism. Walking into a nursery and buying a plant because it’s pretty, with no consideration of where it will live, is how most plant collections start — and most plants die. The lush, beautifully arranged plants in a nursery have been kept in greenhouse conditions: high light, controlled humidity, expert care. The moment they enter the average home, conditions change dramatically. Some species handle this. Many don’t.
Step One: Figure Out Your Light
Before buying a single plant, spend a day or two observing your space. Light is the only factor you can’t easily change. Everything else — watering frequency, humidity, fertilizer — adapts around the plant. Light is fixed by where your windows are.
A simple categorization, drawn from the University of Maryland Extension’s guide on lighting for indoor plants:
Bright direct light: within a few feet of a south- or west-facing window with no obstructions. The sun hits the leaves directly for several hours a day. Good for cacti and sun-loving succulents.
Bright indirect light: near a sunny window but not directly in the path of sunlight, or in a room with a south-facing window where the plant sits a few feet away from the window. This is the sweet spot for the majority of low-maintenance houseplants. East-facing windows often provide this naturally.
Medium light: a few feet from a bright window, or near a north-facing window. Many forgiving plants do well here, though some grow more slowly.
Low light: well away from any window, or in a room with only small or shaded windows. Few plants genuinely thrive here, but a small handful — pothos, snake plant, ZZ plant, cast iron plant — tolerate it well enough.
A practical test: at noon on a sunny day, can you read a book comfortably without artificial light at the spot where you’d put the plant? If yes, you have at least medium light. Can you see your hand cast a faint shadow on a piece of paper? You probably have enough light for low-light tolerant species. If neither is true, that spot won’t sustain a plant long-term, regardless of the species.
The Seven Plants Beginners Should Actually Buy
These seven species are the genuinely low-maintenance, beginner-proof options that show up consistently across university extension and horticultural sources. They tolerate neglect, varied light conditions, and the inconsistent watering that real life produces.
Pothos (Epipremnum aureum) is the closest thing to an unkillable plant. Trailing vines, heart-shaped leaves, tolerates almost any light condition, and forgives serious neglect. The leaves visibly droop when it needs water — and recover within hours of being watered. If you’ve never kept a plant, start with pothos.
Snake plant (Dracaena trifasciata) is upright, sculptural, and almost impossible to overwater if you let it dry out completely between waterings. Tolerates the darkest corners of most apartments. Per West Virginia University Extension’s guidance on common houseplant care, snake plants particularly don’t like wet roots — overwatering is the main way to kill them.
ZZ plant (Zamioculcas zamiifolia) tolerates extreme neglect. It stores water in thick rhizomes underground, which lets it survive weeks of forgotten watering. Glossy dark green leaves grow upright on arching stems. The plant tolerates dim corners better than almost any other species.
Spider plant (Chlorophytum comosum) produces arching striped leaves and small “spiderette” baby plants that you can propagate into new pots. Grows quickly, tolerates a wide range of conditions, and is non-toxic to pets — a meaningful advantage if you have cats or dogs.
Cast iron plant (Aspidistra elatior) is named for a reason — it tolerates conditions that would kill most plants. Slow-growing dark green leaves work well in low-light spaces where nothing else will grow.
Heartleaf philodendron (Philodendron hederaceum) is a trailing vine similar to pothos but with slightly softer, heart-shaped leaves. Tolerates medium light and is forgiving about watering schedules.
Aloe vera is the one in this list that needs bright light. If you have a sunny windowsill, it’s a great option — sculptural form, useful gel inside the leaves for minor burns, and tolerates drought so well that the main way to kill it is overwatering.
Important pet-safety note: pothos, snake plants, ZZ plants, philodendrons, and aloe vera are toxic to cats and dogs if ingested. If you have pets that chew on leaves, prioritize the spider plant and cast iron plant, which are generally considered safe. Consult the ASPCA’s toxic plant database or your veterinarian for specific concerns.
Step Two: Watering Without Killing Your Plants
According to the University of Maryland Extension’s specific guidance on watering indoor plants, plants should not be watered on a schedule but should be watered when they need it. Factors that influence plant watering include differences in potting media, humidity, and temperature. A large percentage of houseplants are lost because of overwatering and underwatering — and watering on a schedule is precisely how this happens.
The simple test that solves this: stick your finger into the soil to a depth of about two inches. If the soil at that depth is dry, water. If it’s still moist, wait. That’s the entire rule. Don’t trust the surface — soil can look dry on top while being damp below. Two inches deep is the practical measurement that prevents most overwatering disasters.
How to actually water. When you do water, water thoroughly: pour water until it flows out of the drainage holes at the bottom. Then dump the excess from the saucer 10–15 minutes later. The Oklahoma State University Extension’s guidance is direct on this point: never leave a houseplant standing in water, as this causes root rot.
Watering thoroughly and then letting the pot dry partly between waterings is the cycle that mimics natural rainfall in most plants’ native environments. The flood-and-drain pattern flushes accumulated salts from fertilizer and tap water, and the drying period gives roots oxygen.
Adjust for the season. Most houseplants need significantly less water in winter than in summer. The combination of lower light, cooler temperatures, and the plant’s natural dormancy means roots take up far less water. Many plant deaths happen because people keep watering on their summer schedule into November and December. Cut watering frequency roughly in half during winter for most plants.
Use room-temperature water. Very cold water can shock plant roots. Filling a watering can the night before and letting it sit overnight both warms it and lets chlorine in tap water dissipate.
Step Three: The Right Pot
The pot matters more than most beginners realize. The University of Maryland Extension’s guidance on potting indoor plants emphasizes that the container directly affects how the plant grows and how water and nutrients behave in the soil.
Drainage is non-negotiable. The pot must have a hole at the bottom. Without one, water collects at the bottom of the pot, the soil stays saturated, and roots rot — even if everything else is right. If you love a decorative pot that doesn’t have drainage, use it as a “cachepot” — put a smaller plain plastic pot with drainage inside the decorative one, and remove it briefly when watering.
Size matters in both directions. A pot that’s too small confines roots and dries out fast. A pot that’s far too large holds excess water around the roots and can cause root rot. The standard rule: when repotting, choose a pot 1–2 inches larger in diameter than the current one — not much larger.
Material affects watering. Terra cotta (unglazed clay) is porous and lets water evaporate through the sides, which means plants in terra cotta dry out faster — useful for plants that hate sitting in moisture (snake plants, aloe, ZZ plants). Plastic and glazed ceramic retain moisture longer, better for thirstier plants. There’s no single right answer, but matching the pot material to the plant’s water needs helps.
Don’t put rocks at the bottom. Old advice said to put rocks or gravel at the bottom of a pot for “drainage.” Modern research has shown this actually makes drainage worse — water collects above the rock layer instead of moving through. A drainage hole is what you need; rocks add nothing.
Step Four: Soil, Fertilizer, and Repotting
Soil. Use a bag of basic indoor potting mix from any hardware store or garden center. Don’t use garden soil — it’s too dense, doesn’t drain well in containers, and may bring in pests or diseases. For succulents, cacti, and aloe, use a cactus/succulent mix that drains faster. That’s all the soil knowledge a beginner needs.
Fertilizer. Houseplants need very little fertilizer compared to outdoor plants. A diluted liquid fertilizer applied once a month during spring and summer (the active growing season) is enough for most species. Don’t fertilize in winter when plants are dormant — you’ll burn the roots. When in doubt, fertilize less, not more. Over-fertilization causes more problems than under-fertilization in houseplants.
Repotting. Most houseplants need to be repotted every 1–2 years. Signs the plant needs a bigger pot: roots growing out of the drainage holes, water running straight through without being absorbed, the plant becoming top-heavy and falling over, or visibly slowed growth. When repotting, gently loosen the root ball, place the plant in the new pot at the same depth it was at before, and fill in fresh potting mix around it. Don’t water heavily for a few days afterward to let any disturbed roots heal.
Reading What Your Plants Are Telling You
Plants communicate problems visibly long before they die. Learning the signals turns “I don’t know what’s wrong” into specific fixes.
What Plants’ Signals Usually Mean
Yellow leaves (especially lower leaves): Usually overwatering. Check soil moisture; let it dry out before watering again.
Crispy brown leaf edges: Underwatering, low humidity, or salt buildup from tap water/fertilizer.
Drooping leaves that perk up after watering: Underwatering. Adjust frequency slightly.
Drooping leaves that don’t recover: Probably overwatering and possible root rot. Check the roots — healthy roots are white/cream; rotted ones are brown/mushy.
Pale, leggy growth with long gaps between leaves: Insufficient light. Move closer to a window or add a grow light.
Scorched, bleached, or bleached-then-brown patches: Too much direct sunlight, especially through glass. Move to indirect light.
Sticky residue or visible insects: Pest problem (aphids, mealybugs, scale, spider mites). Treat early with insecticidal soap before it spreads.
When in doubt, the diagnosis is usually overwatering. It’s the most common cause of every visible problem, and the temptation when a plant looks unhealthy is to water more. Resist that urge until you’ve checked the soil with your finger.
A Realistic Starter Setup
If you want a concrete plan, here’s a realistic starter setup that costs around $50–80 total and produces a thriving small indoor garden within a few weeks.
Three plants. A pothos for a shelf or hanging spot, a snake plant for a side table or floor corner, and a spider plant for somewhere with decent light. Three plants are enough to feel like an indoor garden without being overwhelming. Add more later if these thrive.
Three pots with drainage and saucers. Match the size to each plant. Cheap plastic pots work fine; decorative cachepots can come later.
One bag of indoor potting mix. The smallest bag will be more than enough for three plants.
A watering can (or any container with a spout). A pitcher from your kitchen works fine. Don’t overspend on this.
A bottle of all-purpose liquid houseplant fertilizer. One small bottle lasts a year or more.
Skip, for now: humidifiers, grow lights, moisture meters, fancy planters, plant stands, propagation kits, and pH testers. None are necessary for the first six months. Buy them later only if specific plants demand them.
A Weekly Care Routine That Actually Takes 10 Minutes
Here’s a realistic maintenance routine for the seven-plant garden you can build over time. Total time: about 10 minutes per week, plus one short monthly task.
Weekly (about 10 minutes). Walk through your plants. Stick a finger in each pot to check moisture. Water any that need it. Note any obvious changes — drooping, yellowing, new growth. That’s it. The whole walkthrough takes minutes once you know your plants.
Monthly (about 20 minutes). Add diluted liquid fertilizer to your watering (only spring and summer). Wipe dust off larger leaves with a damp cloth — dust accumulates on leaf surfaces and reduces light absorption. Check for pests on the undersides of leaves and at stem joints, where they hide first.
Twice a year (about an hour each time). Repot anything that’s outgrown its current pot. Flush soil thoroughly with clear water to leach accumulated salts, per the UMD Extension’s recommendation. Rotate plants if growth has become lopsided toward the light source.
That’s the entire commitment. Roughly 10 minutes a week, plus an occasional bigger session a few times a year. Less time than most people spend cleaning a single bathroom.
Common Mistakes to Avoid
Watering on a fixed schedule. Already covered, but worth repeating: this single mistake kills more houseplants than every disease combined. Water by checking the soil, not by checking the calendar.
Misting “for humidity.” Light misting from a spray bottle doesn’t meaningfully raise humidity around the plant; the effect dissipates within minutes. If a plant genuinely needs humidity, you need a humidifier, a tray of pebbles with water under the pot, or clustering plants together — not casual misting.
Buying too many plants at once. Three to five plants is the right starter quantity for someone new to indoor gardening. Twelve is too many to learn from. If a few plants die, you can troubleshoot one or two at a time. With twelve, you can’t tell what went wrong with any of them.
Moving plants around constantly. Plants adapt to their specific spot, including the exact light and air circulation. Moving them frequently forces them to re-adapt, which often results in dropped leaves and stress. Find a good spot, leave the plant there.
Ignoring plants until they look bad. By the time leaves are yellow or drooping severely, root damage has often already occurred. A 30-second weekly check catches problems early when they’re easy to fix.
Buying plants that look stressed at the store. Pale leaves, yellowing, visible pests, or roots growing out of the drainage holes are warning signs. A plant struggling in the controlled conditions of a greenhouse will struggle even more in your less-ideal home. Pick the healthiest specimen from any plant batch.
Treating houseplants as decor only. Plants are alive. They respond to light, water, temperature, and care. The Instagram-perfect arrangements that ignore plants’ actual needs (a fern in a windowless bathroom corner, succulents far from any window) collapse within months. Pick spots that work for the plant first, decorate around them second.
Start Small, Stay Curious
The fastest way to become someone who keeps plants alive is to start with three forgiving species, give them spots that match their light needs, water them when the soil tells you to (not when the calendar does), and resist the urge to add more plants until those three have visibly thrived for several months. Most “I can’t keep plants alive” stories come from people who started with a $40 fiddle-leaf fig in a dim corner and gave up when it died. They didn’t have a black thumb — they picked an aspirational plant for a hostile environment.
Pothos, snake plants, ZZ plants, spider plants — these aren’t compromise choices. They’re plants that have been thriving in human homes for generations because they evolved in conditions similar to a typical apartment. They’re forgiving by design. Start with them, learn the rhythm of plant care, and add other species later only if you genuinely enjoy the process.
An indoor garden doesn’t have to be a hobby. For most people, it’s just three to seven plants that make a home feel more alive, demand minimal weekly attention, and quietly reward consistency with steady growth. Start there, keep it small, and let it grow naturally over time.
This article is for general informational and educational purposes only. Plant toxicity, allergies, and care requirements can vary; consult the ASPCA’s toxic plant database for pet safety information and your local extension service or a qualified horticulturist for specific gardening guidance tailored to your region and conditions.
Leave a Reply