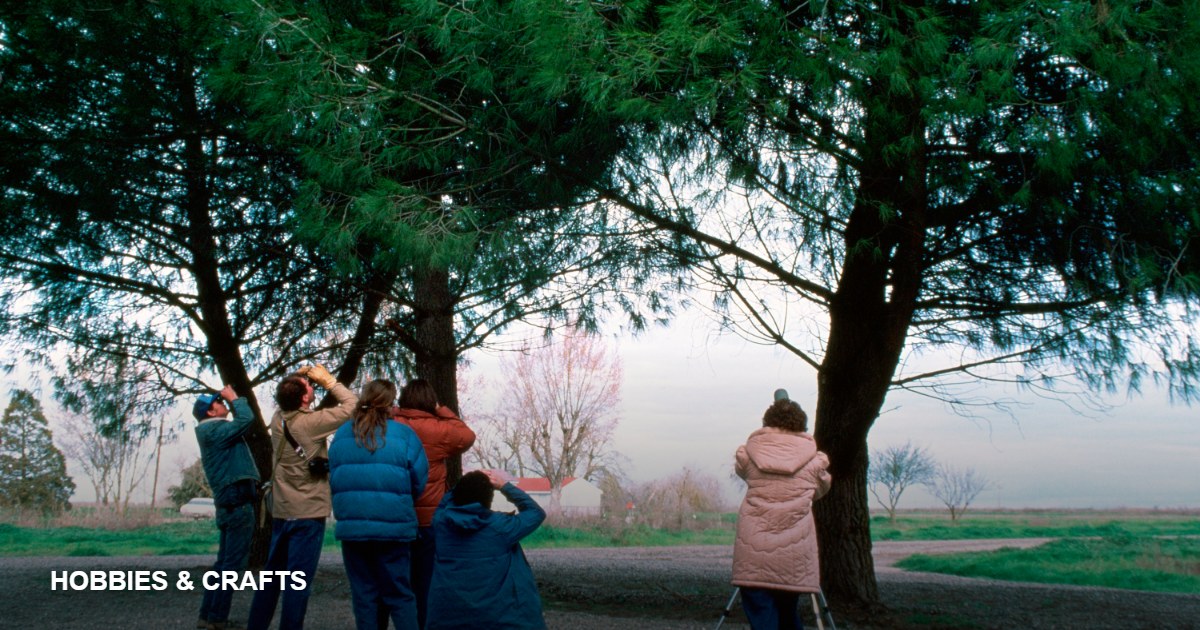
You can start birdwatching before buying anything. Put your phone down, stand by a window for ten minutes, and count how many distinct movements you notice before you try to name a species. Attention comes first; equipment only extends it.
Your first outing: stay close
Choose a familiar park, street, shoreline, or yard and visit for 30 minutes. Walk slowly for the first ten, then stand still for ten. Record four things about each bird: size, main colors, where it was, and what it was doing. “Small brown bird” becomes useful when you add “climbed head-first down a trunk.”
Binoculars: 8×42 is a starting point, not a commandment
An 8×42 pair balances magnification, brightness, field of view, and hand shake for many beginners. Smaller 8×32 binoculars can be easier to carry. Higher magnification narrows the field and magnifies movement, which can make a moving bird harder to find. Try a pair in person if possible and check focus, eye relief, weight, and whether the barrels fit your eyes.
Identify in layers
- Estimate size against a familiar bird.
- Notice shape: bill, tail, neck, and posture.
- Record habitat and height above ground.
- Watch movement and feeding behavior.
- Listen for repeated calls.
- Use color last; light changes it dramatically.
An identification app is a hypothesis generator, not an oracle. Check range, season, habitat, and more than one feature before adding a rare bird to your list.
Morning is productive, but birds do not obey one schedule
The hours after sunrise are often active, especially during breeding and migration, but weather, tide, heat, season, and species change the pattern. Waterbirds may follow tides; owls and nightjars do not reward a dawn-only routine. Visit the same place at different times and let your own notes reveal its rhythm.
Keep notes that improve your eyes
Record date, time, weather, location, and what made the identification convincing. If you are unsure, write “probable” and describe the uncertainty. A short honest field note is more valuable than a confident app result you cannot reconstruct later.
If you feed birds, take responsibility for the station
- Use a feeder that can be dismantled and cleaned.
- Remove wet or moldy seed and waste below the feeder.
- Clean regularly—roughly every two weeks, and more often in wet weather or heavy use.
- If sick birds appear, follow local wildlife guidance and clean or temporarily remove feeders as advised.
- Place feeders with window collisions and stalking cats in mind.
A clean shallow water source can attract birds, but it also needs frequent cleaning and fresh water. Native plants may support insects, seeds, and shelter with less crowding than a feeder.
A first-year rhythm
- Month 1: learn ten common local species.
- Months 2–3: learn five common calls and revisit one route weekly.
- First migration season: join a local walk and practice describing birds before naming them.
- By year’s end: review which habitats and times produced your best observations.
The reward is not the longest list. It is noticing that the same hedge, pond, or rooftop changes every week. If you want to document those changes, use the deliberate exercises in our beginner photography guide.
Feeder-care references
- U.S. Fish & Wildlife Service: To Feed or Not to Feed Wild Birds
- Cornell Lab Bird Academy: feeder cleaning and safe observation

Emily Carter is the Hobbies & Crafts Editor at The Adlroom Journal. She writes practical guides for people trying a new creative hobby for the first time — what to buy, and what can wait.