Your first loaf does not need a starter, a banneton, or a shelf full of flour. It needs a scale, four ingredients, and enough patience to let the dough—not the clock—tell you when it is ready. Start with the recipe below. Bake it twice before changing it; the second loaf will teach you more than a new recipe.
A dependable first loaf
- 500 g bread flour or unbleached all-purpose flour
- 350 g water
- 10 g fine salt
- 5 g instant yeast
This makes one medium loaf. Instant yeast can go directly into the flour. If your packet says to dissolve or activate the yeast first, use the temperature printed on that packet: the right range changes with the yeast and mixing method. A thermometer is more useful than the vague word “lukewarm.”
1. Mix, then leave it alone for 20 minutes
Combine everything until no dry flour remains. The dough will look rough and feel sticky. That is normal. Cover the bowl and wait 20 minutes. This short rest hydrates the flour and makes kneading easier without burying the dough under extra flour.
2. Knead until the dough changes
Knead by hand for 8–10 minutes, or in a mixer on low speed for 5–7 minutes. Watch the texture instead of the timer: the dough should become smoother, hold together, and spring back when pressed. Stretch a small piece. If it forms a thin sheet before tearing, the gluten is developed; if it rips immediately, knead for another minute and test again.
3. Let the first rise build flavor
Put the dough in a lightly oiled bowl, cover it, and leave it until it looks airy and has grown by roughly 75–100 percent. This may take an hour in a warm kitchen or more than two in a cool one. Mark the starting level on the bowl with tape. That mark beats repeatedly poking the dough.
For more flavor, refrigerate the covered dough after 30 minutes at room temperature and continue the next day. Cold dough is not failed dough; fermentation has simply slowed down.
4. Shape without punching out everything you built
Turn the dough onto a lightly floured surface. Press it gently into a rectangle, fold the edges toward the center, then roll it into a tight cylinder. Pinch the seam and place it seam-side down in a greased 9-by-5-inch/23-by-13-cm loaf pan. You want a taut outer skin, not an aggressive “punch down.”
5. Use the poke test at the final proof
Cover the pan and let the dough rise until its crown sits about 1 inch/2.5 cm above the rim, usually 35–60 minutes. Press it lightly with a floured fingertip. If it springs back immediately, wait. If it returns slowly and leaves a shallow mark, bake. If it collapses or the dent never moves, it has probably gone too far.
6. Bake, cool, then cut
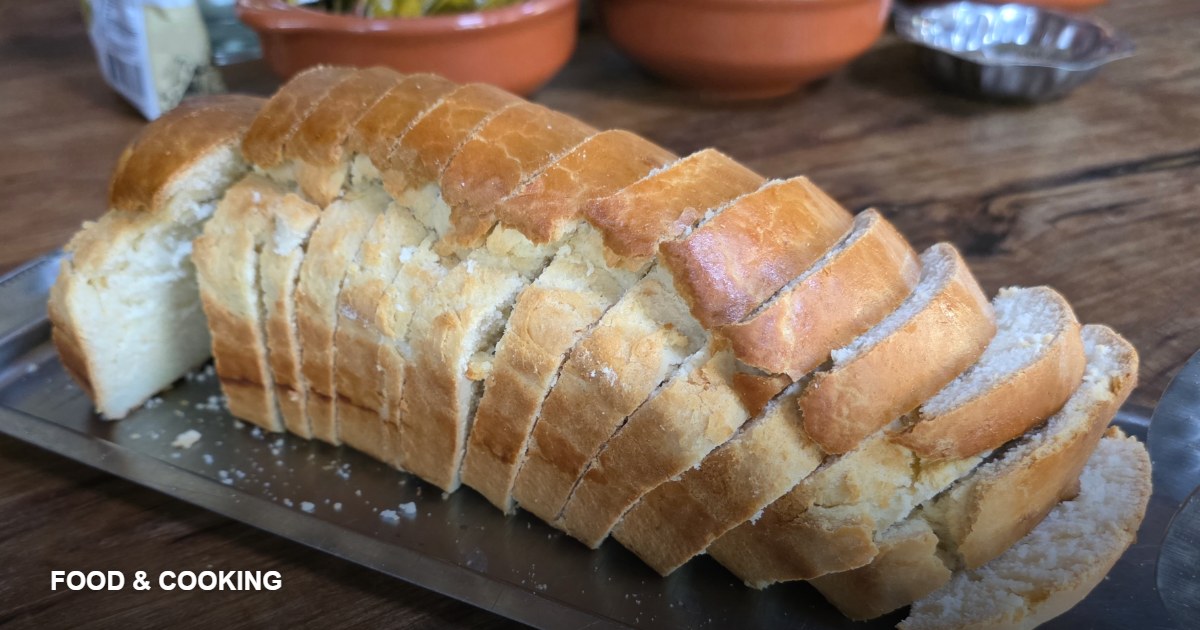
Heat the oven to 425°F/220°C. Bake for 15 minutes, reduce to 375°F/190°C, and continue for 20–25 minutes. The loaf should be deeply browned and read about 195–205°F/91–96°C in the center. Remove it from the pan and cool on a rack for at least one hour. Cutting immediately releases steam and can leave a properly baked loaf gummy.
What went wrong?
- Dense loaf: the dough may have needed more fermentation, more kneading, or active yeast. Change one variable next time.
- Rose, then collapsed: it was probably over-proofed or shaped without enough surface tension.
- Pale crust: verify your oven with a thermometer and bake until genuinely brown.
- Gummy center: check internal temperature and let the loaf cool before slicing.
Three habits that make the next loaf better
- Weigh flour. A packed cup can make this dough stiff.
- Do not add handfuls of flour just because the dough sticks at first. Wet or lightly oil your hands.
- Write down room temperature, rise time, and result. Bread improves quickly when you can compare attempts.
The first loaf is not an exam. It is a baseline. Once this process feels familiar, our guide to the science of better home cooking explains how heat, browning, salt, and acidity work beyond bread.

Sophie Bennett is the Food & Cooking Editor at The Adlroom Journal, writing home-cooking guides that explain the technique behind a recipe, from bread baking to weeknight one-pan meals.