The Science of Better Home Cooking: 8 Techniques That Change Everything
Professionals don’t have better recipes — they have eight transferable techniques: layered salting, the Maillard reaction, cooking to temperature, acid, resting, emulsions, heat control, and mise en place. The science, the mistakes they prevent, and an eight-week practice plan.
Watch a professional cook and a beginner prepare the same ingredients and the difference is startling — not in speed or flair, but in a handful of quiet decisions: when the salt goes in, how hot the pan is before anything touches it, when the pan gets left alone. The beginner has recipes; the professional has technique. Recipes are instructions for one dish; techniques are the transferable physics that govern every dish. Learn eight of them and you don’t just cook the recipes in this article better — you cook everything better, permanently, because you’ll understand why the instructions say what they say.
Each technique below comes with the science that makes it work, the mistake it prevents, and the one dish to practice it on. None requires special equipment beyond a decent pan, a thermometer that costs less than a takeaway pizza, and salt. For readers who want to go deeper into the science, Serious Eats’ Food Lab remains the gold-standard reference for evidence-based home cooking, and we link the official food-safety temperature chart where it matters.
1.Salt Early, Not Just at the End
The single most common difference between restaurant food and home food is not exotic ingredients — it’s that the professional salted the pasta water, the meat before it hit the pan, and the vegetables as they cooked, while the home cook shook salt hopefully over the finished plate. The science: salt doesn’t just sit on food’s surface; given time and moisture, it migrates inward, seasoning through rather than on top. Meat salted forty minutes ahead (or even the day before, uncovered in the fridge) seasons deeper and retains more moisture. Pasta water salted “like the sea” — roughly a tablespoon per four liters — seasons the pasta itself, not just its sauce. And a small final pinch of flaky salt at the table adds a distinct third layer: surface crunch. The practice dish: a simple pot of pasta with garlic and oil. Taste it salted in layers versus salted at the end and you’ll never unlearn the difference.
2.Master the Maillard Reaction: Brown Is Flavor
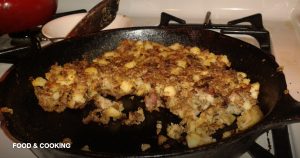
Between roughly 140°C and 165°C (285–330°F), the surface of protein and many vegetables undergoes the Maillard reaction — a cascade of chemistry between amino acids and sugars that creates hundreds of new flavor compounds: the crust on bread, the sear on a steak, the golden edge on roasted potatoes. Browning is not cosmetic; it is flavor, manufactured on contact with heat. Three conditions make it happen: a dry surface (pat meat and mushrooms dry — water caps temperature at boiling point and steams instead of sears), a properly hot pan (oil added to a heated pan, shimmering before food enters), and — hardest for beginners — patience: food placed in hot fat and left unmoved releases itself when the crust forms; poke it early and it tears and sticks. The crowded pan is the eternal saboteur: too much food drops the temperature and everything stews grey. Brown in batches. The practice dish: mushrooms — a food that transforms from squeaky and bland to deeply savory entirely through dry surface, hot pan, and non-interference.
3.Cook to Temperature, Not to Time
“Bake for 30 minutes” is the least reliable sentence in cooking: ovens vary by 25 degrees, chicken breasts vary by thickness, and time is a guess dressed as a fact. Temperature is a fact. An instant-read thermometer — a fifteen-dollar tool — converts doneness from mystery into data, and it is the dividing line between cooks who guess and cooks who know. The official U.S. food safety chart of safe minimum internal temperatures gives the floor values: poultry at 74°C (165°F), ground meats at 71°C (160°F), whole cuts of pork and beef at 63°C (145°F) with a rest. Knowing the floor liberates you to pull meat at the moment of perfection instead of incinerating it out of anxiety — the dry chicken breast is almost always a chicken breast that was cooked to “be safe,” twenty degrees past necessary. The practice dish: a pan-seared chicken breast pulled at exactly 74°C and rested, against your old method. No contest.
The Adlroom Kitchen Desk
4.Acid: The Lever Nobody Taught You
When a dish tastes flat — fine but lifeless — the home cook reaches for more salt. The professional reaches for acid. Lemon juice, vinegars, wine, tomatoes: acid brightens, lifts, and focuses flavor the way contrast sharpens a photograph, and its absence is the most common invisible flaw in home cooking. The training exercise is revelatory: take a finished soup or stew, ladle out a bowl, and stir in a teaspoon of lemon juice. Taste them side by side. The acid bowl tastes like more of itself — not lemony, just vivid. The rules: add acid near the end (long cooking mutes it), keep lemons and two vinegars (wine and apple cider cover nearly everything) in stock, and think of acid as the final adjustment knob, after salt. Fat, salt, acid, heat — the framework popularized by Samin Nosrat — really is the periodic table of the kitchen, and acid is the element home kitchens most lack.
5.Rest the Meat (and Stop Cutting Board Juices)
Cut into a steak straight from the pan and the board floods; the meat eats dry. The fluid dynamics are simple: heat drives juices toward the center of the meat under pressure, and cutting releases the pressure instantly. Resting — five minutes for a steak, ten to twenty for a roast, loosely tented with foil — lets the muscle fibers relax and reabsorb. The improvement is not subtle: rested meat is visibly juicier on the plate, not the board. Carry-over cooking is the companion fact: a large roast’s internal temperature keeps climbing several degrees after leaving the oven, so pull it before target and let the rest finish the job — the thermometer from technique three makes this precise rather than hopeful. The practice dish: two identical steaks, one cut immediately, one rested eight minutes. Count the juice on each board.
6.Emulsions: The Sauce Science That Looks Like Magic
Oil and water don’t mix — except that mayonnaise, vinaigrette, hollandaise, and creamy pan sauces exist. Emulsification is the trick: breaking one liquid into droplets so small they suspend in the other, usually with an emulsifier (mustard, egg yolk) stabilizing the union. The practical power is enormous. A jar vinaigrette — three parts oil, one part acid, a dab of mustard, salt, shaken — replaces every bottled dressing in your fridge at a tenth of the cost and twice the flavor. The pasta water emulsion is the greater revelation: that starchy water you pour down the drain is the restaurant secret — a ladle of it tossed with the pasta and sauce binds everything into a glossy coating that clings instead of pooling. Start reserving a cup before draining, always. And the pan sauce: after searing meat, deglaze the fond (those browned bits — pure Maillard flavor) with wine or stock, reduce, swirl in cold butter off the heat. Three minutes, and a Tuesday chicken breast wears a restaurant sauce.
7.Heat Control: Your Stove Has More Than Two Settings
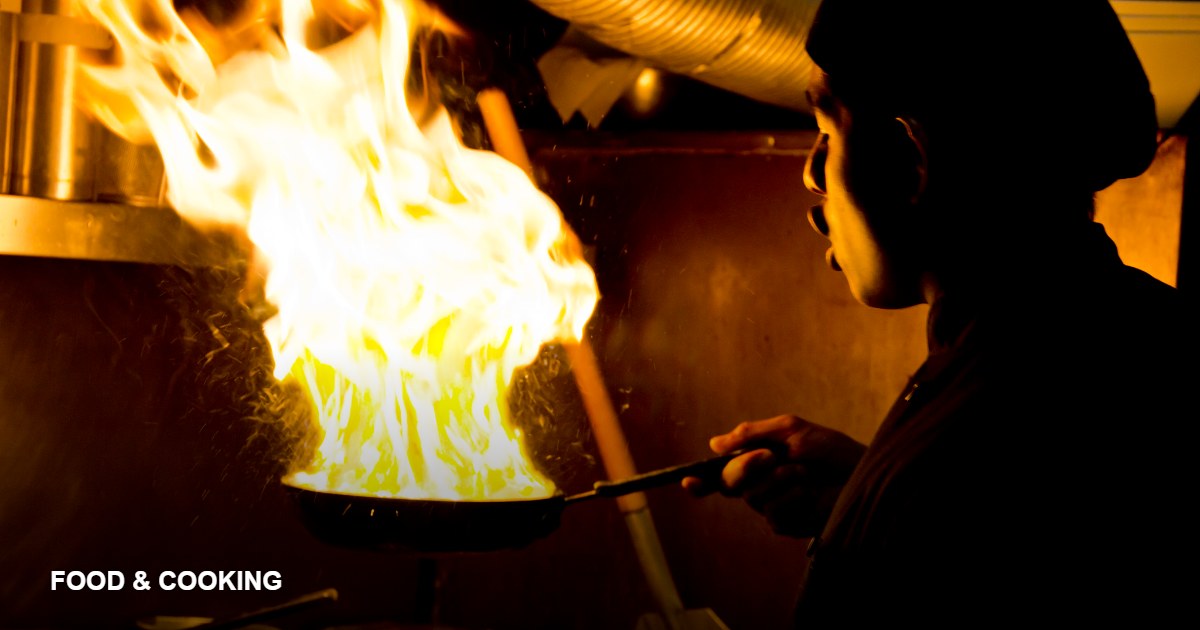
Beginners cook on two settings: high (for everything) and the anxious low (for things going wrong). The professional thinks in heat zones, because different chemistry happens at different temperatures: sweating onions (soft, sweet, translucent) wants gentle heat; browning them (caramelized, complex) wants moderate heat and time; searing wants serious heat; and a simmer — a few lazy bubbles — wants less than you think. The calibration exercise: learn what a true simmer looks like on your stove (occasional bubbles, not a rolling boil — a hard boil makes tough meat and broken sauces), and learn your pan’s preheat timing (two to three minutes on medium-high for most pans; the water-drop dance test confirms). One more habit: food added to the pan should sound right — an assertive sizzle for searing, a gentle murmur for sweating. Your ears are accurate thermometers.
8.Mise en Place: The Technique That’s Actually a Mindset
Every professional kitchen runs on mise en place — “everything in its place”: all ingredients measured, chopped, and arrayed before heat is applied. It looks like fussy television choreography; it is actually stress engineering. Cooking is a real-time process with irreversible moments — garlic burns in thirty seconds while you frantically hunt for the paprika. With mise en place, the cooking itself becomes calm, sequential, almost meditative; without it, every recipe is a fire drill. The home version: read the recipe fully (twice), prep every ingredient into small bowls, and only then turn on the stove. The side effects compound: you’ll catch the missing ingredient before cooking, never after, and cleanup shrinks because the chaos never happened. Pair it with an organized workspace — our small kitchen organization guide builds exactly the prep-zone layout that makes mise en place effortless.
9.The Toolkit These Techniques Actually Require
Technique-first cooking is famously light on equipment — which is worth stating plainly, because the cookware industry prefers you believe otherwise. The complete kit:
Table 1 — The eight-technique toolkit (total: under $150)
| Tool | Why It Matters Here | Budget Note |
|---|---|---|
| Instant-read thermometer | Technique 3 exists because of it; ends all doneness anxiety | $15–25 — the best-value tool in cooking |
| Heavy skillet (stainless or cast iron) | Heat retention for real Maillard browning | Cast iron is cheap, eternal, and gets better with use |
| Half-sheet pan | Roasting space = no crowding; also the backbone of one-pan dinners | $10–15 at restaurant supply stores |
| Fine-mesh strainer + a ladle | Pasta-water emulsions and sauce work | You already own these |
| Two vinegars + lemons, always in stock | Technique 4 is impossible without them | Cheapest flavor upgrade in the kitchen |
| A sharpening steel or service | Not a technique here, but dull knives cause both bad cuts and bad cuts-to-fingers | A $20 sharpening twice a year |
What’s absent from the list is the point: no sous vide circulator, no fifteen-piece knife block, no copper anything. The techniques above are chemistry and timing; the tools are thermometers and mass. Spend the savings on ingredients — better olive oil, real Parmesan, fresh lemons — because technique applied to good ingredients is the whole formula.
10.The Eight-Week Practice Plan
Table 2 — One technique a week, one dish each
| Week | Technique | Practice Dish |
|---|---|---|
| 1 | Layered salting | Pasta aglio e olio |
| 2 | Maillard / browning | Pan-seared mushrooms on toast |
| 3 | Temperature, not time | Chicken breast to exactly 74°C |
| 4 | Acid adjustment | Any soup or stew, finished with lemon |
| 5 | Resting & carry-over | Two steaks, rested vs. unrested |
| 6 | Emulsions | Jar vinaigrette + pasta-water sauce |
| 7 | Heat zones | Onions three ways: sweated, browned, caramelized |
| 8 | Mise en place | Any stir-fry — the technique’s natural exam |
Eight weeks, eight dinners — and at the end, the recipes you already own will start making a new kind of sense: you’ll see why step two says “pat dry,” why step four says “reserve pasta water,” why the roast rests. That comprehension is the actual skill. Recipes are sheet music; these eight techniques are learning to play.
11.The Five Universal Beginner Mistakes
- Crowding the pan. Grey, steamed food instead of brown, flavorful food. Batch it; the extra five minutes buy an entirely different dish.
- Cooking to the clock. Ovens and ingredients vary; the thermometer doesn’t. Time is a guideline, temperature is the truth.
- Salting only at the table. Surface salt on an unsalted interior can’t be fixed. Season in layers, as things cook.
- Fearing acid. If it tastes flat and you’ve salted it, it needs brightness, not more salt. Reach for the lemon.
- Reading the recipe while cooking. Mise en place exists because cooking is real-time. Prep first; cook calmly.
12.Frequently Asked Questions
Do I need expensive pans to cook well?
No. One heavy stainless or cast-iron skillet, one saucepan, and one sheet pan cover these eight techniques fully. Pan weight matters (it holds heat for searing); pan price mostly doesn’t. The fifteen-dollar thermometer outperforms the three-hundred-dollar pan for improving your cooking.
How do I fix an over-salted dish?
Dilution is the honest fix: more unsalted base (broth, tomatoes, vegetables, water for soups), bulk, or a starch served alongside. Acid masks saltiness somewhat; a peeled potato simmered in the pot is a beloved trick with modest effect. Prevention — layered salting with tasting — beats all cures.
Is MSG something to fear?
It’s simply purified glutamate — the savory compound in Parmesan, tomatoes, and mushrooms — and decades of research support its safety in normal culinary amounts. Used sparingly alongside salt, it’s a legitimate flavor tool, not a cheat code or a hazard.
Which technique should I learn first?
Layered salting (week one). It costs nothing, changes every dish immediately, and builds the tasting habit that all seven other techniques depend on.
Do I need special equipment to apply these techniques?
No — every technique in this guide works with a basic home kitchen. The two tools that genuinely help cost little: an instant-read thermometer (the single highest-value purchase in cooking, because it converts doneness from guesswork into knowledge) and a scale for baking. Everything else — salting in layers, managing heat, finishing with acid, resting meat, building emulsions — is technique, not technology. A sharp chef’s knife and one heavy pan will carry you further than a drawer of gadgets.
Which technique should I practice first?
Start with layered salting, because it costs nothing and touches every meal you already make. Salt earlier than feels comfortable, taste before serving, adjust — that loop rewires your instincts within a week. Then take on heat control: cook one familiar dish a notch lower and slower than usual and notice the difference in browning and texture. The techniques compound; each one you adopt makes the others easier to notice and understand.
How do professional kitchens use these same ideas?
Identically — just faster and at volume. Mise en place is the professional religion; resting meat is non-negotiable on any restaurant line; emulsions are a daily station task; and the tasting spoon is the most-used tool in every serious kitchen. What separates professional from home cooking is rarely secret knowledge — it’s the disciplined repetition of exactly these fundamentals, applied without exception, plate after plate. That’s good news: it means the gap is practice, not access.
Do these techniques apply to baking too?
Mostly yes — with one mindset shift. Cooking forgives improvisation; baking measures. The same foundations still apply: salt balance matters in bread, resting matters for doughs, and heat control decides crust and crumb. The difference is precision — weigh ingredients, respect ratios, and the techniques will meet you halfway.
Sources & Further Reading
Technique science: Serious Eats’ The Food Lab. Temperature safety baselines: FoodSafety.gov’s chart. All links verified live at publication. Next in this series: twelve one-pan weeknight dinners that put these techniques to work.
Great home cooking was never about talent — it’s about a short list of physical truths applied consistently. Salt in layers, brown without fear, trust the thermometer, finish with acid, rest the meat, bind with starch, mind the heat, prep before you cook. Eight weeks from now, you won’t follow recipes. You’ll read them.